| << Previous | Learning Trail | Contents | Section 8: Organiser | Next >> |
| StrataBugs Learning Trail | Section 8: Organiser |
How to import data using Organiser
General procedure for importing data from a file to your database
- Select and open the data file in the Organiser main frame. The file's data are now in the Workspace.
- View the Workspace data; select the version, wells and data types you wish to import.
- Match the Workspace data against the database, edit data and resolve conflicts.
- Save the Workspace to the database.
Destination Project
If the file you are importing contains taxon groups or sets, or any chart template data, you should select the destination project on the toolbar before you commence either import process. You should be wary about importing into the global project. Imported wells are only added to the destination project if they are used in charts.
Guided Import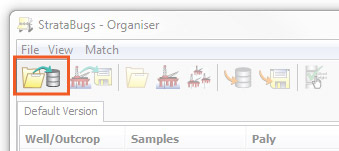
The Guided Import function guides you step by step through the process of importing data from some of the most common file formats. You can exit this procedure at any time by pressing Cancel. This is useful, for example, if you have to abandon the Guided Import part way through in order to edit the incoming data because of conflicts.
Guided import works with the common file formats (SBG, XML, DEX, XLS and most CSV (occurrence matrix) files.
Access the Guided Import function via the File | Guided Import menu or the Guided Import toolbar icon. A file selector will show; select the appropriate file and press Open. If you have opened a CSV file, you will be directed to the CSV File Import Parameters dialog. Follow through the rest of the dialogs to import your file. See also "Replacing all database data" below.
You can also start the guided import by dragging and dropping an SBG file onto the Organiser window.
The dictionary-data dialogs will not allow you to "continue" with the guided import unless you have matched all items. You can exit from the guided import by pressing the close-window button at the top of any dialog.
Non-Guided import
- Open a file by selecting File | Open File, by pressing the
 open file button on the toolbar, or dragging an SBG file onto the Organiser window.
 - At this stage you can chose which data types, versions and wells you wish to import. To select data types, select View | Data types or press the
 view data types toolbar icon. To remove wells, select them in the table (CTRL + click or SHIFT + click to select multiple wells) and then select View | Exclude selected wells. (+ versions)
 - You now need to match the dictionary data. Do this by selecting each data type from the Match menu (for help with each dialog, visit the match dialogs page). You may also right-click on individual items on the Dictionaries tab, or the section headers. See also "auto-match" below.
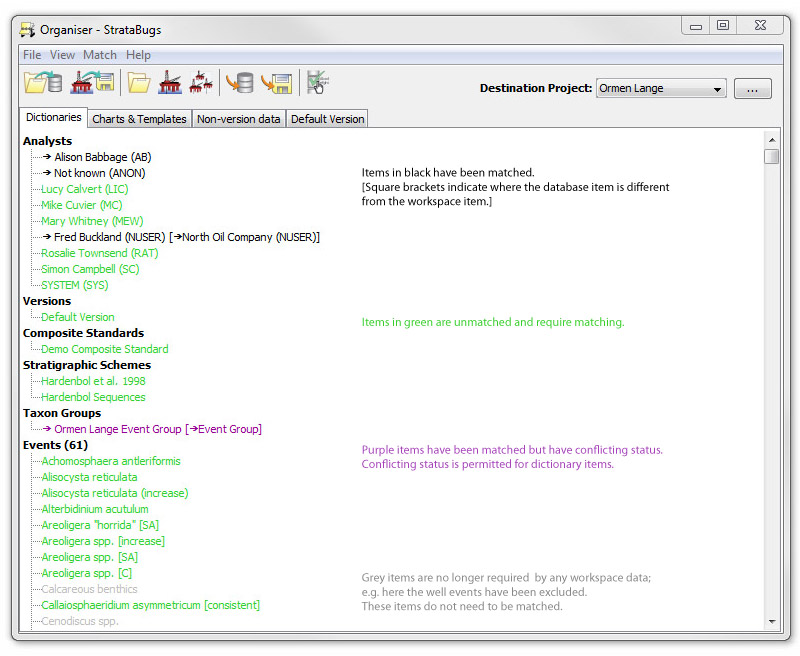
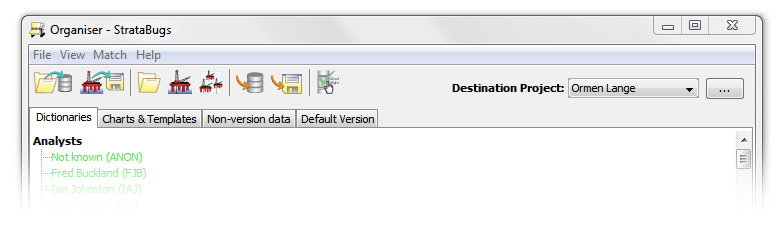
The Dictionaries tab helps you keep track of what dictionary items are in the workspace:
- Next you should match Wells; you will now see that each cell in the main table splits into two: left for the Workspace and right for the database. Workspace wells are given status colours to show whether the corresponding database data are new, existing or conflicting (more information).
- You can now view how the workspace data match the well data. Do this by double-clicking in the appropriate columns. You must look at the match data dialogs if there are conflicts (in red), so they can be resolved.
Note that because most of the well data is linked to samples, there is slightly more flexibility in how samples are matched. It is advisable to check that samples are matched correctly BEFORE you look at the other well data as the match status of samples will affect the matching of most other data as well. More on sample matching...
- The final stage is to save the Workspace into the database. Select File | Save to Database or press the
 save to database toolbar icon. You will not be allowed to do this if there are any conflicting (red) cells in the table.
The Workspace now shows various tabs. The "Dictionaries" tab details the dictionary data now present in the workspace. If the file was a StrataBugs SBG file and contained any chart template data, a tab will show this. The other tabs show well data. The first of these contains all the non-version data types, e.g. samples, analyses and interpreted lithology. Subsequent tabs show data from each version in the file (versioned data includes biostrat comments, chronostratigraphy intervals etc). The example below includes some chart templates and a "Default Version".

Auto-match
The auto-match feature uses the same functionality as the "Match All" buttons on many of the dictionary data match dialogs. With this setting enabled, dictionary items (including taxa and events) will be matched automatically when you read in a file. Items will be matched where an item in your database exists with the same name, or if the selected data source has a match recorded for that item. Toggle the setting (and select the data source) via Match | Auto-match.
Replacing all database data
On some occasions you may wish to replace all data in the database with the new data from the file. The long way round to do this would be to open the dialog for each well data type (by double-clicking in the table), selecting all the data and pressing 'Delete', before using the save to database menu item or toolbar icon. You can do this in one step by selecting File | Replace all in database.
Notes:
- ALL data for each data type will be deleted first - not just those items that would be replaced by the new data. Thus, the data you end up with in the database (for each data type shown) will be an exact copy of what was in the file.
- Samples are not affected by this operation. This is because they may be integral to other data in well. No existing samples will be deleted. You must resolve conflicts in sample labels before proceeding.
- Only data types being viewed in the table are affected - nothing else will be deleted.
- You can still use this feature with the guided import. Start the import as normal. At the end of the process, you will be asked "Save all in database?"; choose "No". Then select Replace all in database from the File menu.
Importing one data type from a text file
It is possible to import data from a text file (which has no well reference within the file). Currently this feature is available for all interval types, sequence picks, interval comments, interpreted lithology and sample lithology.
- Open the well into which you want to import the data. If you want to use a different version to the default version, open the version in a new tab in the main Organiser window.
- Double-click in the data type column (for example the sequence picks column which will show the Match Sequence Picks dialog). In this dialog, click the Read... button.
- Select the file and then select the file type at the bottom of the next dialog.
- When you press OK you will see the data (highlighted in green) in the Organiser table.
- Depending on the data type, you may be required to match a scheme. For example, sequence picks will need to be matched against surfaces in a sequence scheme in the database. Open the menu option to open the Match Stratigraphic Schemes dialog.
- You can now click save data to database and your picks will be saved into the well.
Page last updated: 02-Nov-2015 16:20